
Want to DIY your garage or a small room into a workshop? This article will guide you through a step-by-step process of creating your perfect workshop!


Setting up your workshop is not only a fun experience, but you can also bring your dream workshop to life. Oftentimes, we rent places for our work but no matter how we decorate the place, the whole setup doesn’t seem to live up to our imagination of the workshop we want it to be. Doing it yourself is the perfect solution to this. By the end of this article, you will learn how to set up the workshop in your basement, garage, or any small room that fits your requirements.
Step 1: Understand Your Need
First, take some time to think about the purpose of this workshop. The size, design, layout, and everything depends on what your workshop will serve. This will also determine the location of the workshop. Check out websites like woodworking toolkit to find everything you’ll need. Another very important factor to consider is whether you need an extension in the future. The workshop should be held in a place that has enough room to extend.
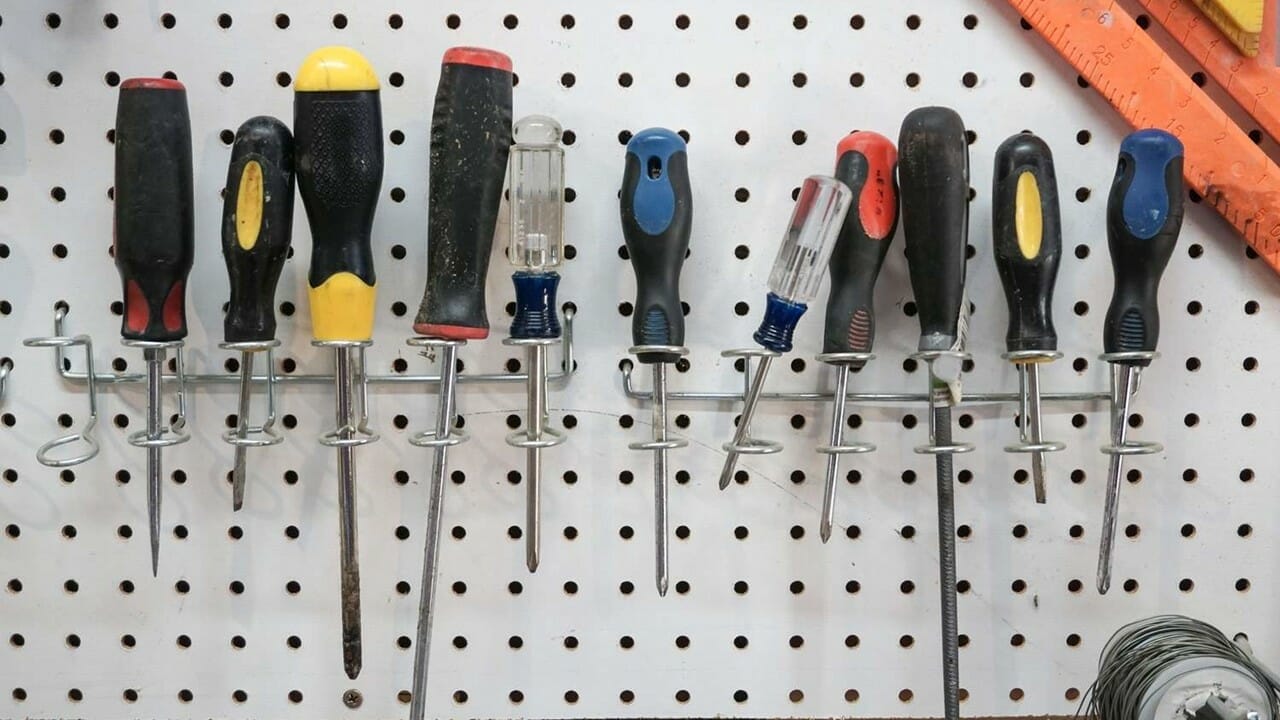
Step 2: Get your Tools
You will need the best socket set to power your workshop for your lumber, saw, power drill, level, tape measure, screwdrivers, hammer, pliers, socket wrench, gloves, and protective gear. These come with different tool measurements, can be very handy, and are always needed at home to fix things occasionally. So even if you have to buy these tools, they will be a great investment for future purposes. You can easily get these tools for just under $300, and if they are not lost, they will serve you for a lifetime!

Step 3: Dust and Sawdust Collection
Dust has been associated with breathing problems and other respiratory diseases, so removing it is important. Now, we all know how dusty a workshop can be from all the wood shavings. Nowadays, it is easy to get a dust collector installed for under a thousand dollars. This equipment involves flexible tubes that carry the dust to a central dust collector, from where it can be cleaned.
Sawdust from the bandsaw needs other equipment to clean up the dust underneath. A dust port is not enough for the clean-up. So, another port is needed in addition to the dust port to ensure that all the dust produced can be collected.
You may use a vacuum cleaner instead to collect and clean all the dust, but it can collect only low volumes of dust and doesn’t provide full-scale filtration as dust collectors do.
Step 4: Size and Design
The size of your workshop will be determined by the number of power tools to be kept in the workshop. Typically, an ideal workshop is about 125 square feet, including the lumber storage area.
All equipment should be placed so that it doesn’t bump or topple over. There should be a 3-foot distance between each machine. Your workbench should be 4 feet apart from other machines and must be spaced to incorporate a stool or stand comfortably by the table.
Design a layout of where to install each machine so that you can move freely. Having a layout ready will also save you from the hassle of moving the machines from time to time.
Step 5: Entrance
Since your workshop will contain machines and lumber, a spacious entrance will make it more feasible to move this equipment. Enough ventilation is crucial for workshops; sometimes, the windows alone can’t provide the needed ventilation. The entrance should be designed with all these factors in mind.
The entrance can change depending on the workshop’s location. If it is in your basement or garage, you can design it in one way; if it is in another room, the entrance would be different.
Step 6: Electric Amenities
Almost all the tools in the workshop will require electricity, which is a crucial factor. Your workshop should have a separate sub-panel, a Pony panel, that will meet all the shop’s electric requirements, from power outlets to lighting and running the machines.
Keeping the power outlets at least 4 feet above the ground is advised to ensure safety and facilitate access. Use 220V machinery rather than lower-voltage ones to save electricity and install dedicated circuit breakers.
Step 7: Lighting
Since you will be working with machinery, proper lighting is important. Sure, you can use natural sunlight during the day, but you need to put up lights if you’re working at night or when the day isn’t very sunny! Place the machines so that the light doesn’t reflect directly on your eyes.
Fluorescent lighting is better and more affordable than incandescent lighting. While some lights need to be plugged in, others are wired permanently. Put up spotlights or lamps in the corners if needed.
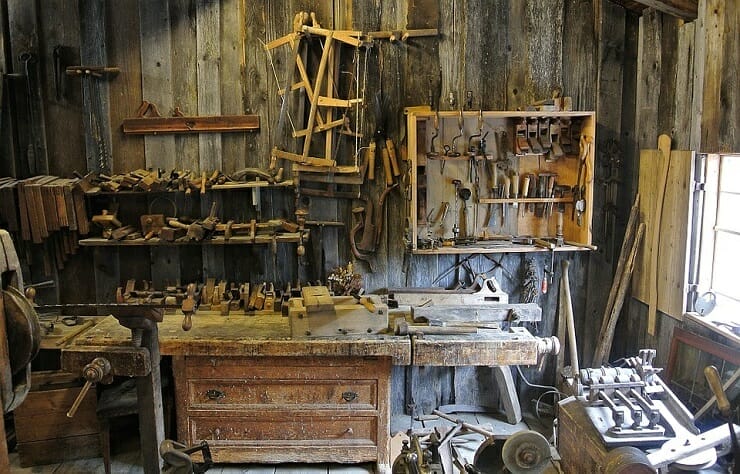
Step 8: Storage Facility
You don’t want your tools lying all over the place. A workshop must have a good storage facility for tools and unused timber. You can get wooden shelves and arrange tools according to their sizes or weights. You can also DIY a large holder to keep the lumber in one corner of the workshop. Furthermore, you can also incorporate cabinets, as they are closed, so dust does not enter the tools.
Step 9: Workbench
Your workbench is the heart of your workshop, so it has to be firm and steady. Since you’ll be working on this table, it should be large enough to accommodate all tools, and the height should be optimum to ensure that you can work comfortably.
You can easily buy workbenches or even make one yourself. You can incorporate a few shelves or drawers and a vise into your bench for added benefits.
Step 10: Safety
Understand that working with machinery can be dangerous. To be safe, you must follow the instructions that come with each machine. When you start work, concentrate and finish it. Clean everything and put your tools back on their respective shelves or cabinets.
Always keep your workshop dry and clean. Electric wires and a wet floor can be extremely dangerous. Remember to keep a fire extinguisher. It is also wise to install a GFCI receptacle to prevent excessive current flow, which can cause accidents.
Remember to wear safety goggles and gloves while working. The goggles are shatterproof and will save your eyes from any wood shavings. The gloves will protect you from cutting your hands. Wear a mask even if you are not allergic to dust, as overexposure can create respiratory ailments.
Designing and creating your workshop can be a very tiresome experience, but it’s going to be worth it in the end. So what are you waiting for? Gather your things, and let’s build that workshop you want.